Contouring, a makeup technique previously reserved for runway models and fancy photo shoots, is now part of many people's daily routines. It's all about enhancing your natural features, giving shape to an area of the face, and enhancing the facial structure through makeup. It's not supposed to be noticeable—just a subtle definition. A key player in this game of shadows and light is the contour stick, a tool that has gained popularity in the beauty industry for its convenience and versatility.
Its purpose?
To create illusionary depth and dimension on your face, making your facial features pop in just the right places. With contour sticks, you can easily achieve this look at home, all by yourself. The right contour stick will not only match your skin tone and undertone but also blend seamlessly for a natural looking finish. Let's delve into the world of contour sticks and how to use them.
What Are Contour Sticks?
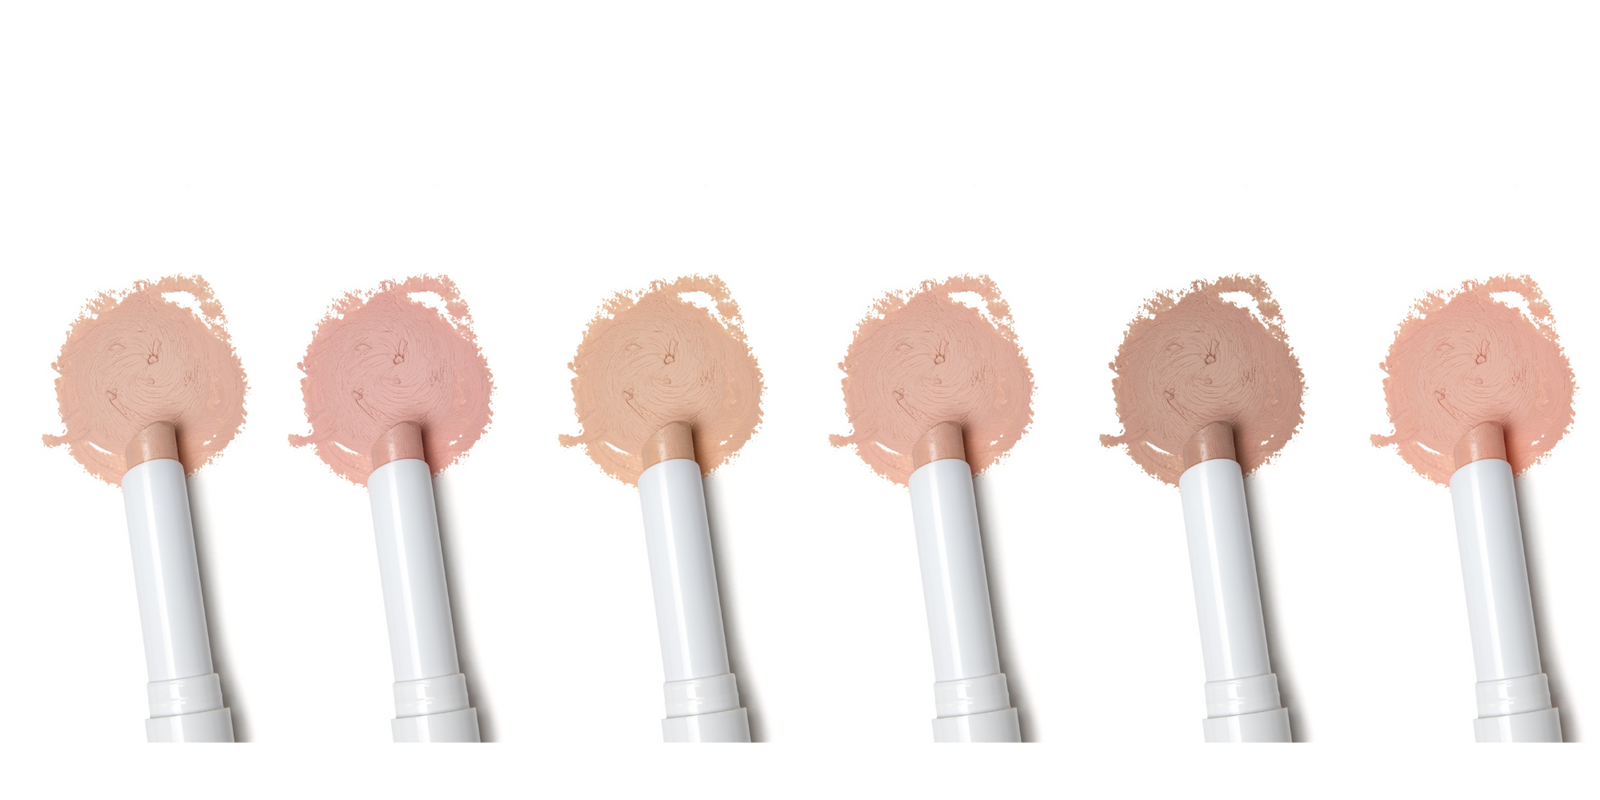
Contour sticks are makeup products designed specifically for creating shadows and highlights on the face. Available in cream, powder, or liquid form, they are used to sculpt the face by blending them onto specific areas of the face, such as the cheekbones, jawline, and nose. The idea is to create contrast between light and shadow for a more defined look.
Contour sticks have become popular due to their convenience and versatility. They come in a variety of shades to match different skin tones and undertones, making them suitable for all ethnicities and skin types. Their compact size makes them easy to carry around for touch-ups on the go.
How To Choose The Right Contour Stick
When it comes to choosing the right contour stick, there are a few things to consider. The first step is to determine your skin tone, followed by identifying your undertone. From there, you can select the right shade and formula for a flawless finish.
Determine Your Skin Tone
The key to selecting the perfect contour stick is to match it with your natural skin tone. This creates a more realistic and natural-looking result. To determine your skin tone, look at your face in natural lighting and compare it to the following categories:
- Light: Pale, fair skin with cool undertones.
- Medium: Warm or olive-toned skin that tans easily.
- Dark: Deep complexion with warm or cool undertones.
Once you have identified your skin tone, it's essential to choose a contour shade that is a few shades darker for a subtle, natural-looking contour.
Consider Your Undertone
Undertones play a crucial role in makeup as they determine how certain shades will look on your skin. To figure out your undertone, look at the veins on your wrist:
- Blue or purple veins indicate a cool undertone.
- Green veins suggest a warm undertone.
- A mix of blue and green veins signifies a neutral undertone.
Understanding your undertone will help you choose the right contour shade that complements it, creating a more natural and flattering look.
Select The Right Shade
When it comes to contouring, the shade you choose is crucial. It should be a few shades darker than your skin tone, but not too dark to avoid a harsh and unnatural appearance. Additionally, consider your undertone when selecting the contour shade to ensure it complements both your skin tone and undertone.
Choosing a shade that allows for a gradual build-up of intensity also gives you more control over how dramatic you want your contour to be. This makes it easier to achieve a natural-looking result.
Choose The Right Formula
Contour sticks come in different formulas, each with its own unique benefits. The most common types are cream, powder, and liquid contour sticks. When choosing a formula, take into consideration your skin type and desired makeup finish:
- Cream contour sticks work well for dry or mature skin, as they provide moisture to the skin while adding depth. They also give a dewy finish.
- Powder contour sticks are suitable for oily skin as they have a matte finish and help control shine.
- Liquid contour sticks work well on all skin types, giving a natural-looking, radiant finish.
Test And Blend
Before purchasing a contour stick, it's essential to test it out first. The best way is to swatch it on your face. Start by swiping the product on your cheekbone, jawline, and nose. Blend it out to see how it looks against your skin tone and undertone. This step is crucial, as you want to ensure a seamless blend for a natural-looking contour.
How To Contour Like A Pro
Now that you have the right contour stick in hand, it's time to master the art of contouring. With a few steps and some practice, ladies can achieve a flawless and well-defined look. Here's how:
Gather Your Tools And Products
To contour like a pro, gather the necessary tools and products beforehand. This includes a small blending brush for precise application, a contour palette with various shades to choose from, and a highlighter. Consider your skin tone and desired makeup look when selecting shades and products. For instance, if you have cool undertones, choose a contour shade with cool undertones as well. If you want a more dramatic look, opt for a darker contour shade.
Prep Your Skin
It's essential to start with clean and moisturized skin before applying any makeup. For contouring, this means cleansing, toning, and moisturizing your face. A primer can also be used to create a smooth canvas for makeup. A hyaluronic moisturizer can also help to keep your skin hydrated during a full makeup routine.
Application
To contour, start by applying the contour shade to areas where you want to create shadows and add definition. These include under the cheekbones, along the jawline, and on the sides of the nose. Use a light hand and build up the intensity gradually for a natural look. Then use a blending brush or sponge to blend out any harsh lines for a seamless finish.
Blend Thoroughly
Blending is crucial when it comes to contouring. It ensures a smooth and natural-looking result. Use a clean blending brush or sponge to blend out any harsh lines, especially around the edges of the contour. Circular motions work best for blending.
Highlighting
The highlighter adds dimension to the face by catching and reflecting light. To accentuate the areas where you have contoured, apply highlighter to the high points of your face, such as the top of your cheekbones, brow bone, and bridge of the nose.
Check out this Halo Liquid Highlighter to achieve a radiant finish!
Set With Setting Powder
To make your contour last all day, set it with a translucent setting powder. This also helps control shine and prevents the makeup from shifting throughout the day. Use a fluffy brush to dust the setting powder lightly over your face, focusing on areas where you have contoured.
Natural Lighting Check
Make sure to check your makeup in natural lighting before heading out. This will give you a true representation of how it looks and help you make any necessary adjustments or touch-ups.
Contouring For Different Face Shapes
Different face shapes require different techniques to contour effectively. Here are some tips for the most common face shapes:
Oval Face Shape
Oval faces are considered an ideal shape for makeup as they already have balanced proportions. To enhance this face shape, focus on adding depth and definition to certain features. This can be done by contouring along the cheekbones and jawline. Avoid contouring the forehead to maintain a natural look.
Round Face Shape
To add dimension and slim down a round face, focus on creating angles and adding depth under the jawline. Contour along the hairline, temples, and sides of the face with a darker shade. Then highlight the center of the forehead, bridge of the nose, and chin for a more defined look.
Square Face Shape
For square faces, the goal is to soften the angles. Contouring the corners of the face and jawline with a darker shade can help create a more rounded appearance. Highlighting the high points of the face, such as the cheekbones and brow bone, will add balance and dimension.
Heart Face Shape
Heart-shaped faces have a wider forehead and narrower chin. To achieve a more balanced look, contour the sides of the forehead and temples. Then highlight the center of the face, such as the tip of the nose, cupid's bow, and cheekbones.
Diamond Face Shape
A diamond-shaped face has high cheekbones and a narrow forehead and chin. To soften this face shape, focus on contouring and highlighting the cheekbones. Add depth under the jawline and highlight the center of the face for a balanced look.
Try Contour Stick To Enhance Your Beauty
Contour sticks are a versatile and convenient option for achieving a flawless, chiseled look. Take one step further by using natural and cruelty-free ingredients that are gentle on the skin. With its blendable formula and variety of shades, you can create your perfect contour look for any occasion. So, whether you have a round, square, or diamond face shape, contour sticks offer a simple solution to enhance your natural beauty.

